Azure Blob Storage
1. Create an Azure Storage account
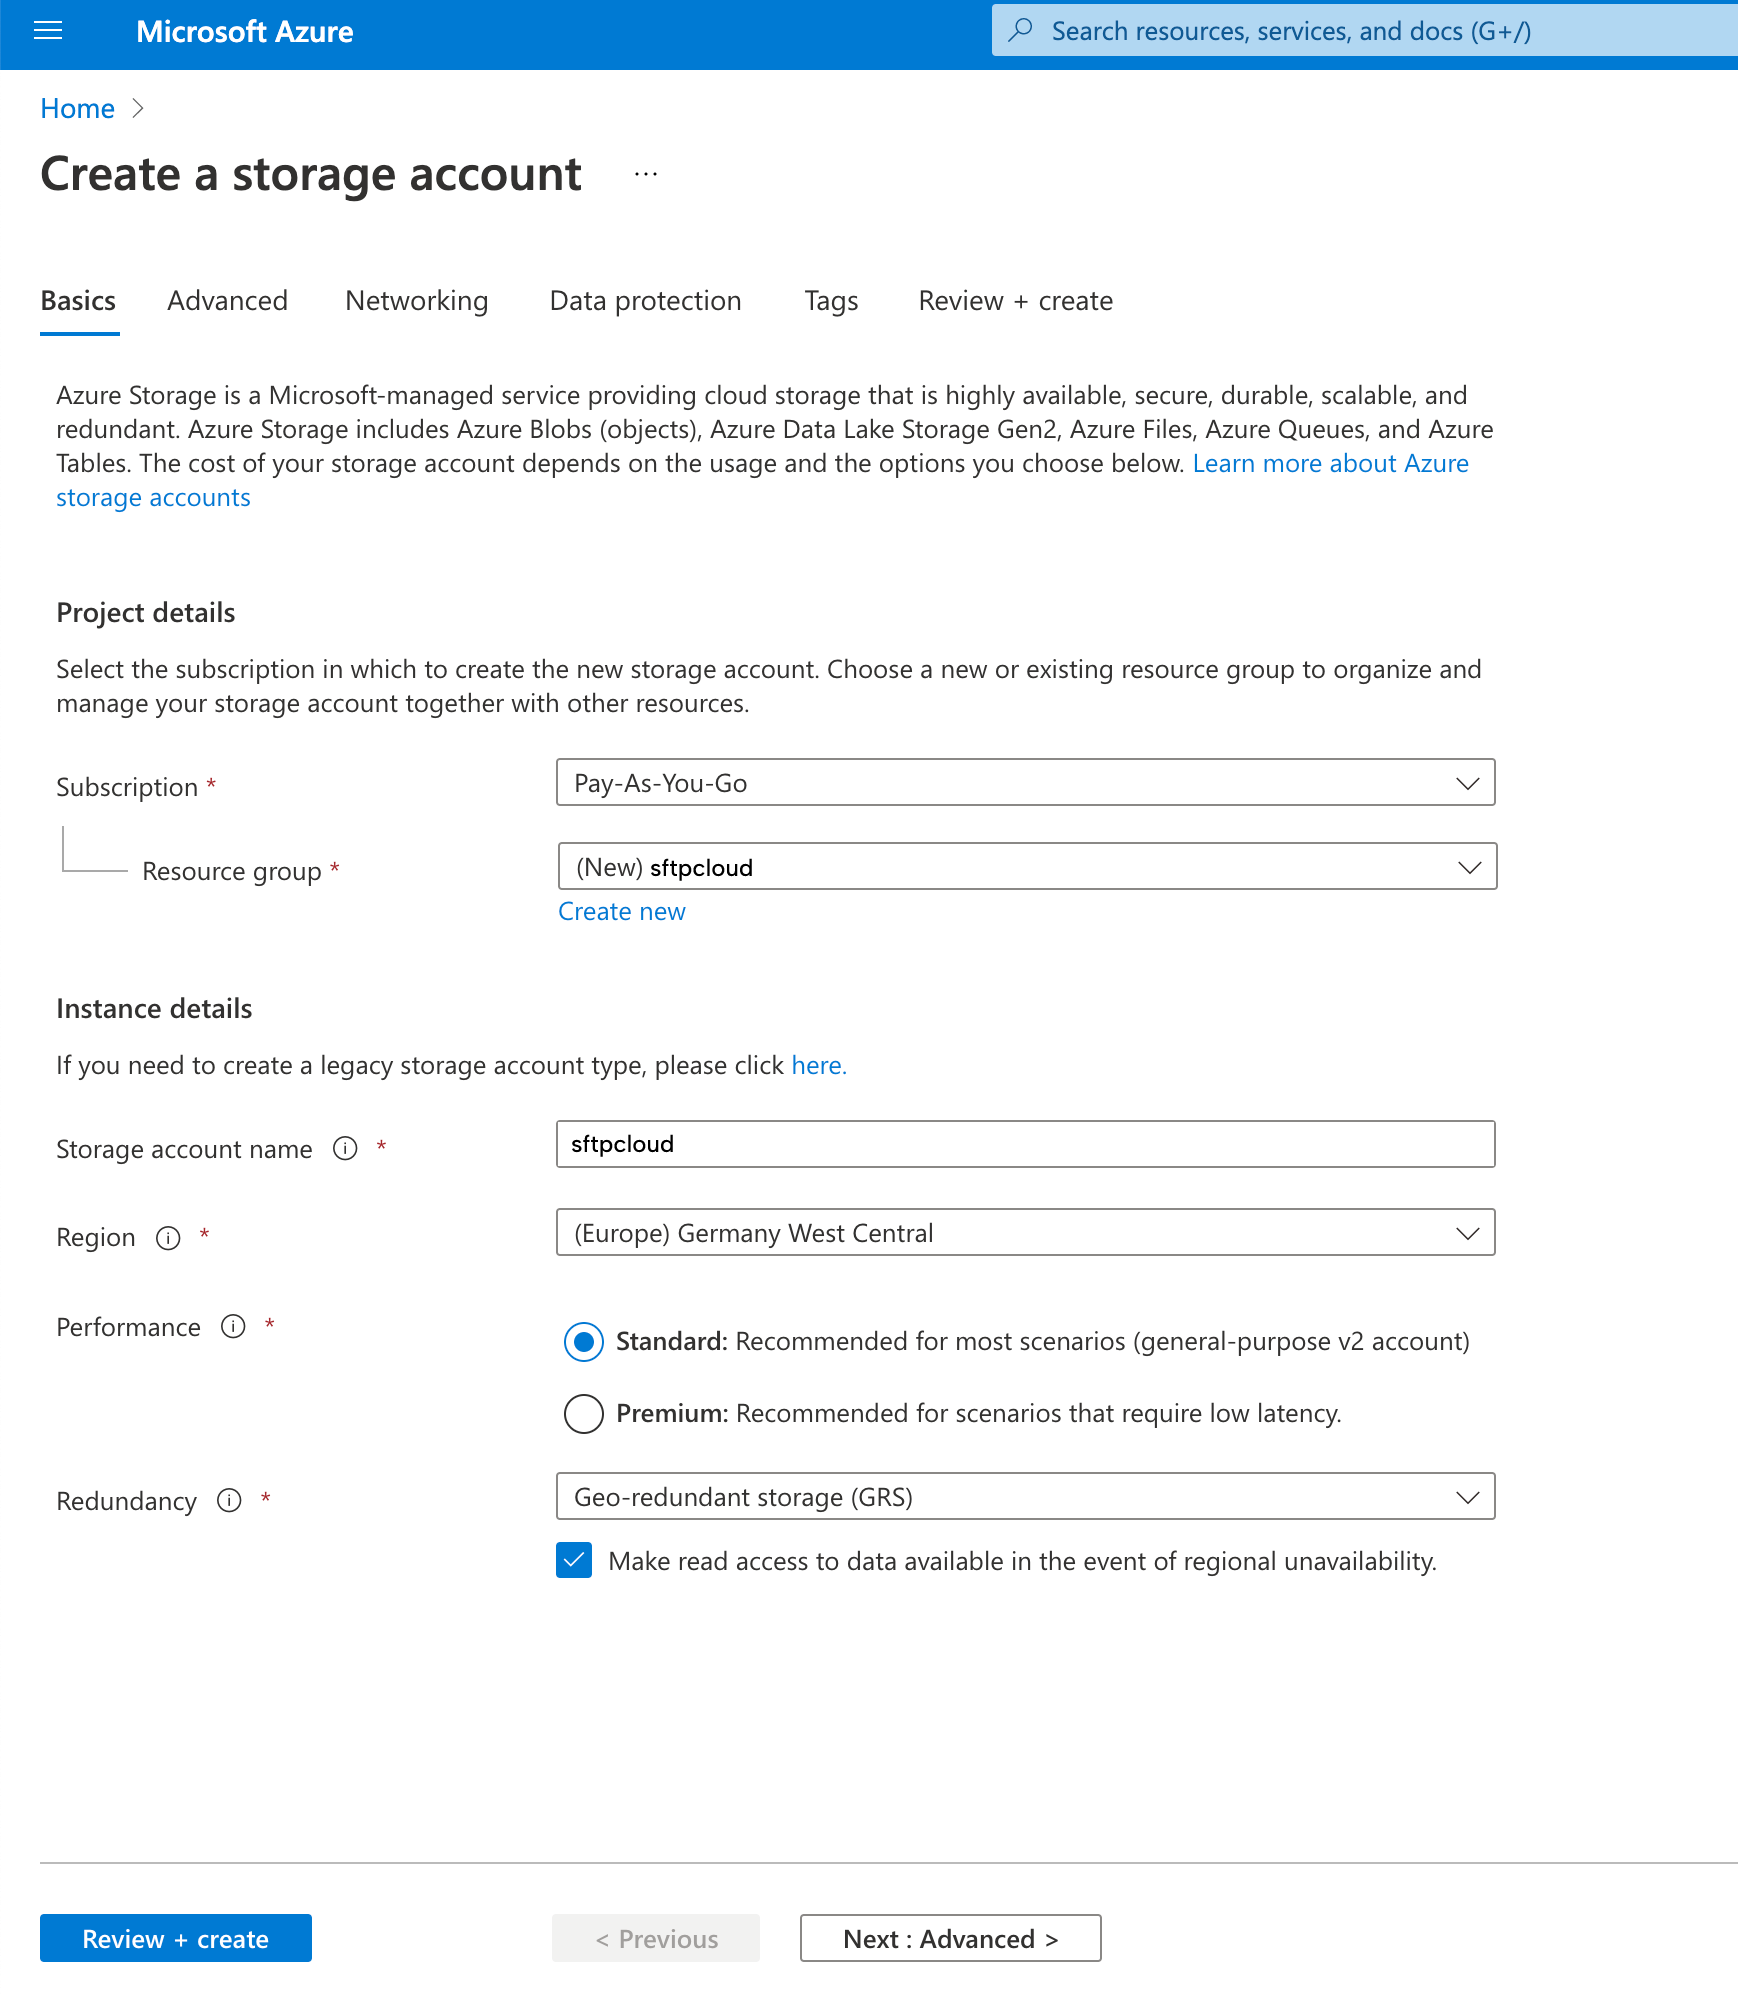
Open your Azure portal and on the sidebar hover your mouse over Storage accounts until a small modal appears. On the modal, click Create .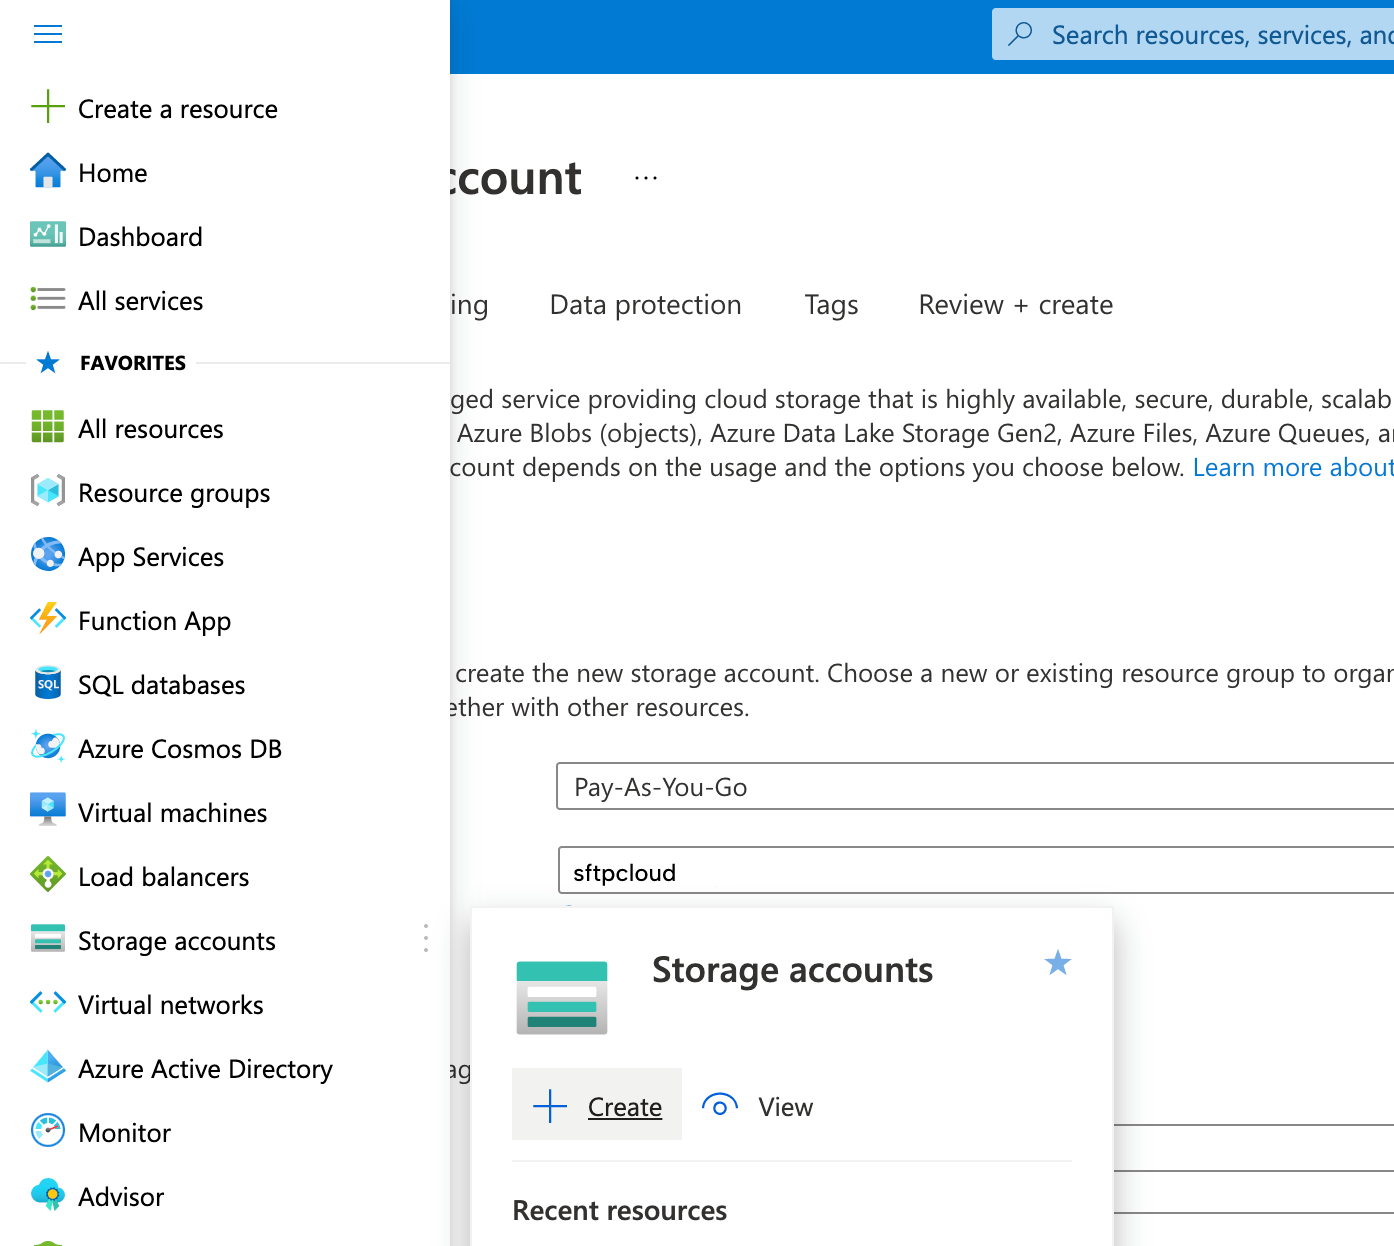 Now it's time to configure the new storage. Create a new resource group with an intuitive name (we named it
sftpcloud
for this example).
Now it's time to configure the new storage. Create a new resource group with an intuitive name (we named it
sftpcloud
for this example).
Next, you must type a unique Storage account name . This must be unique across all existing Azure storage names.
The next thing is to select a region. For this example, we selected Germany West Central .
The Standard performance is more than enough but if you want, feel free to choose Premium .
As Redundancy we selected GRS, but again, feel free to change it if you have different requirements.
As the final step, click the button Review + create and proceed with the creation of the new storage.
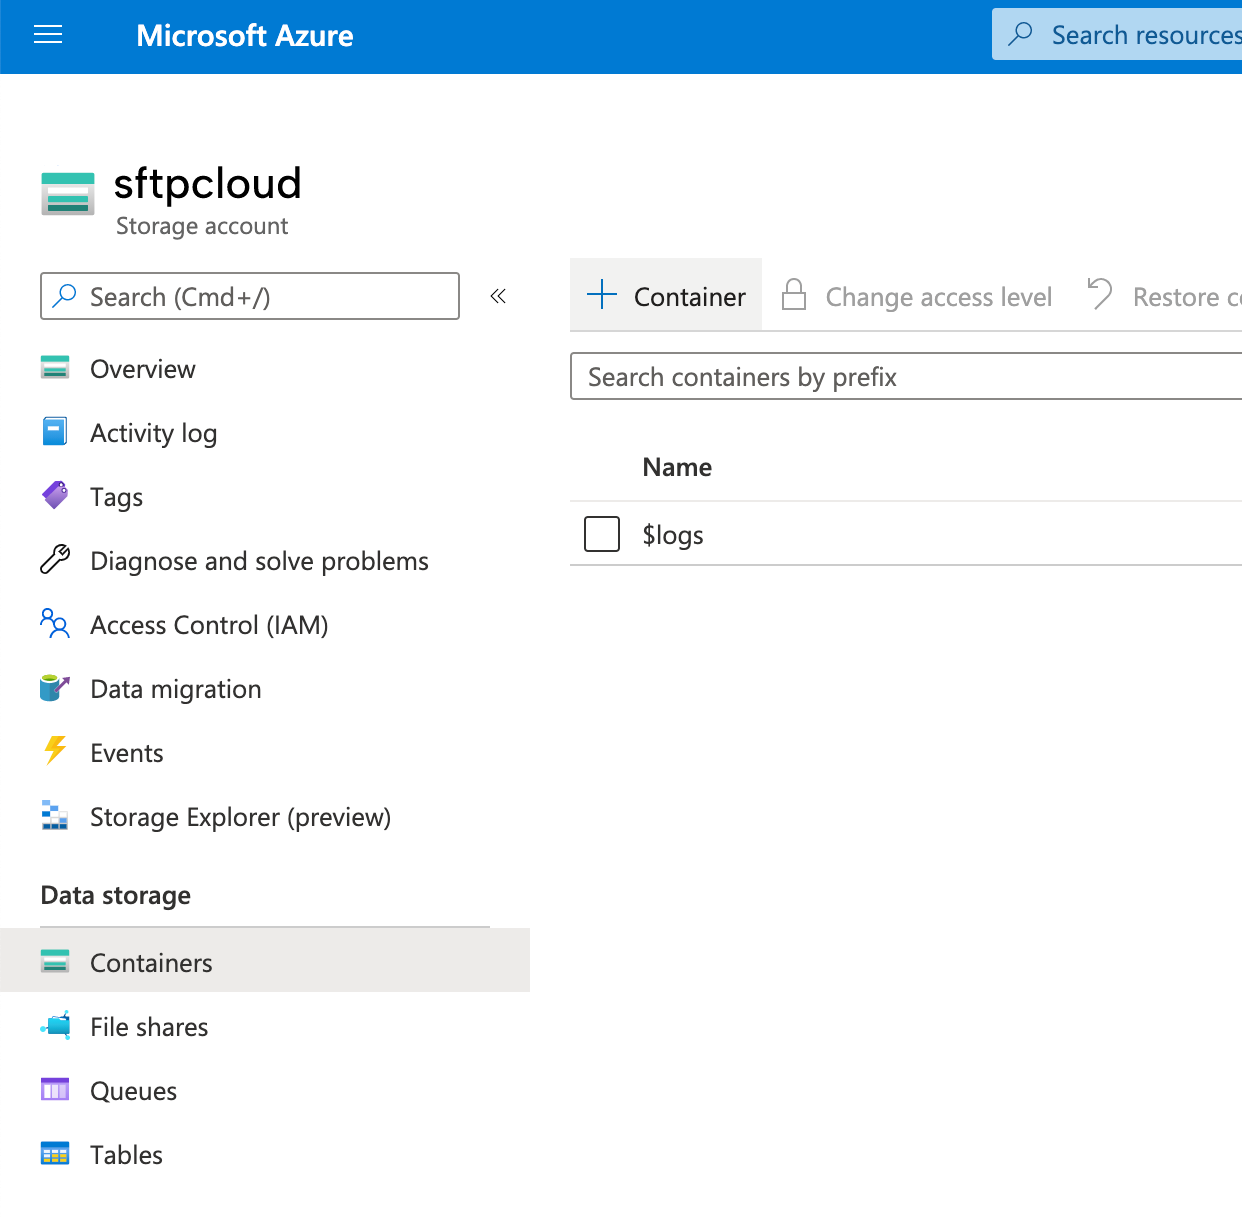
2. Create a new container
After creating the storage, click the button Go to resource .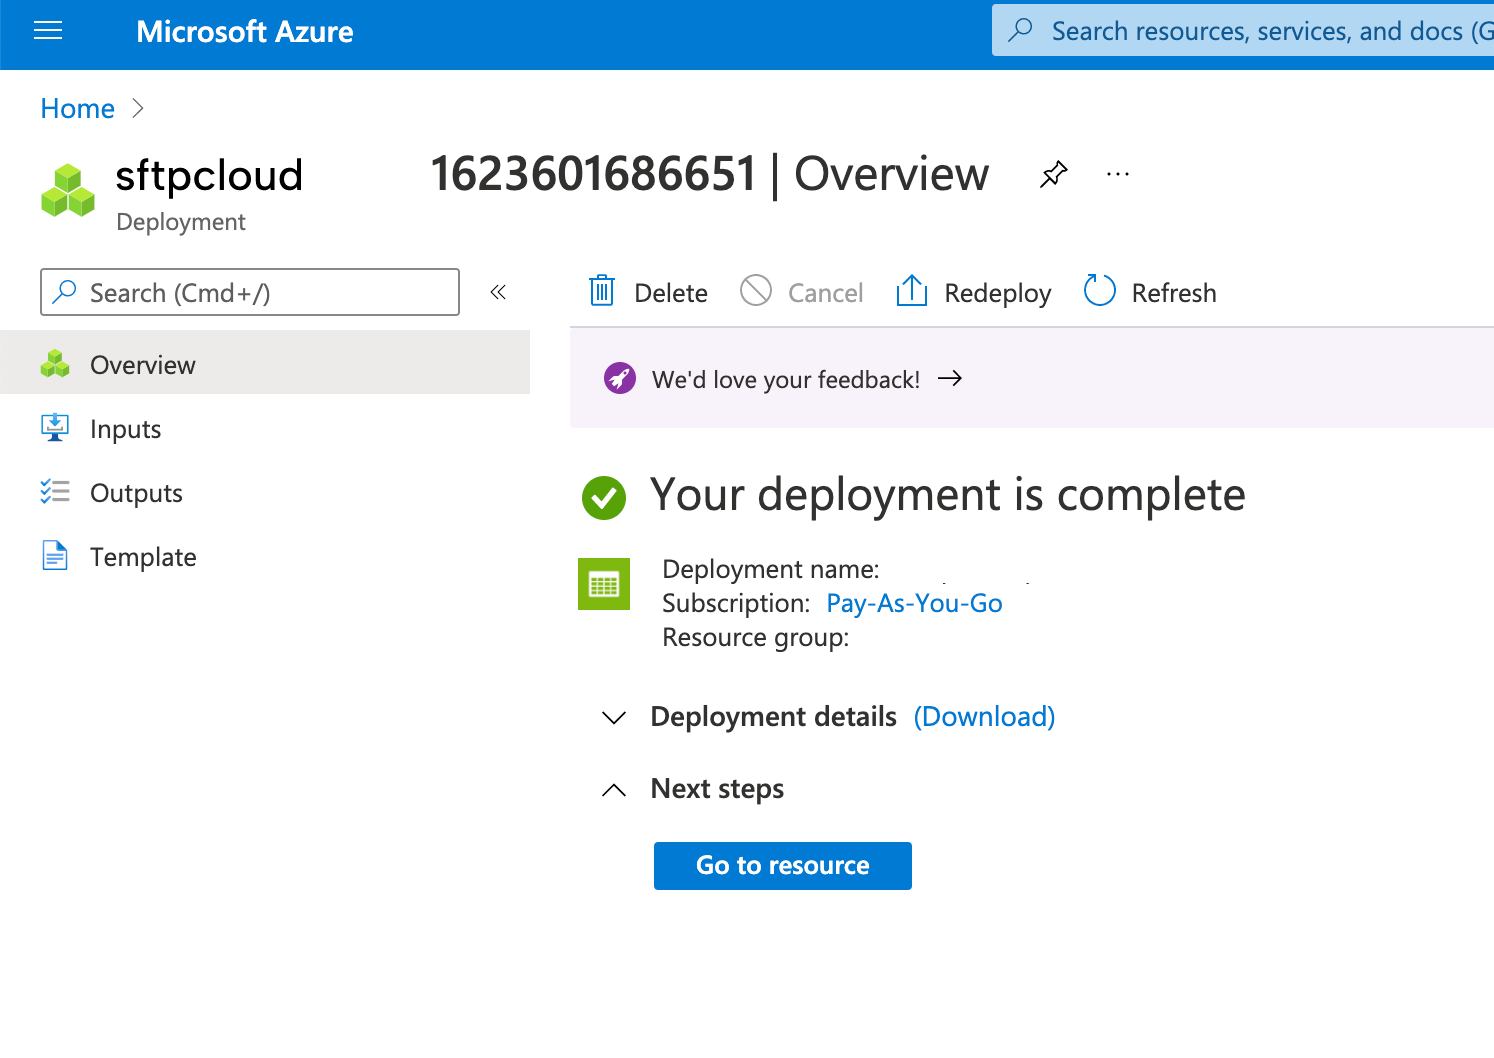 On the resource page, click
Containers
on the left sidebar and then click to create a new container.
On the resource page, click
Containers
on the left sidebar and then click to create a new container.
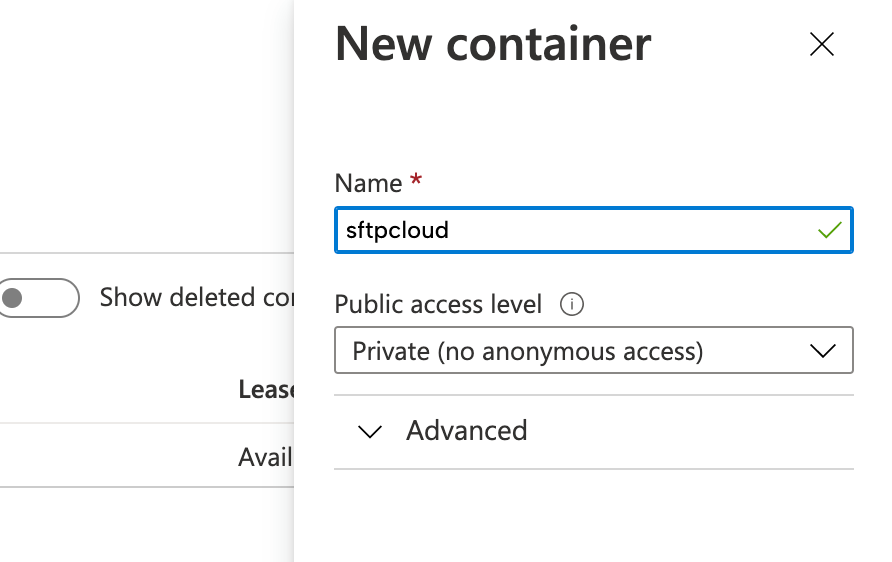
 A new sidebar on the right will appear. Give a name to your container and click
Create
. Remember this name because you will need it later.
A new sidebar on the right will appear. Give a name to your container and click
Create
. Remember this name because you will need it later.
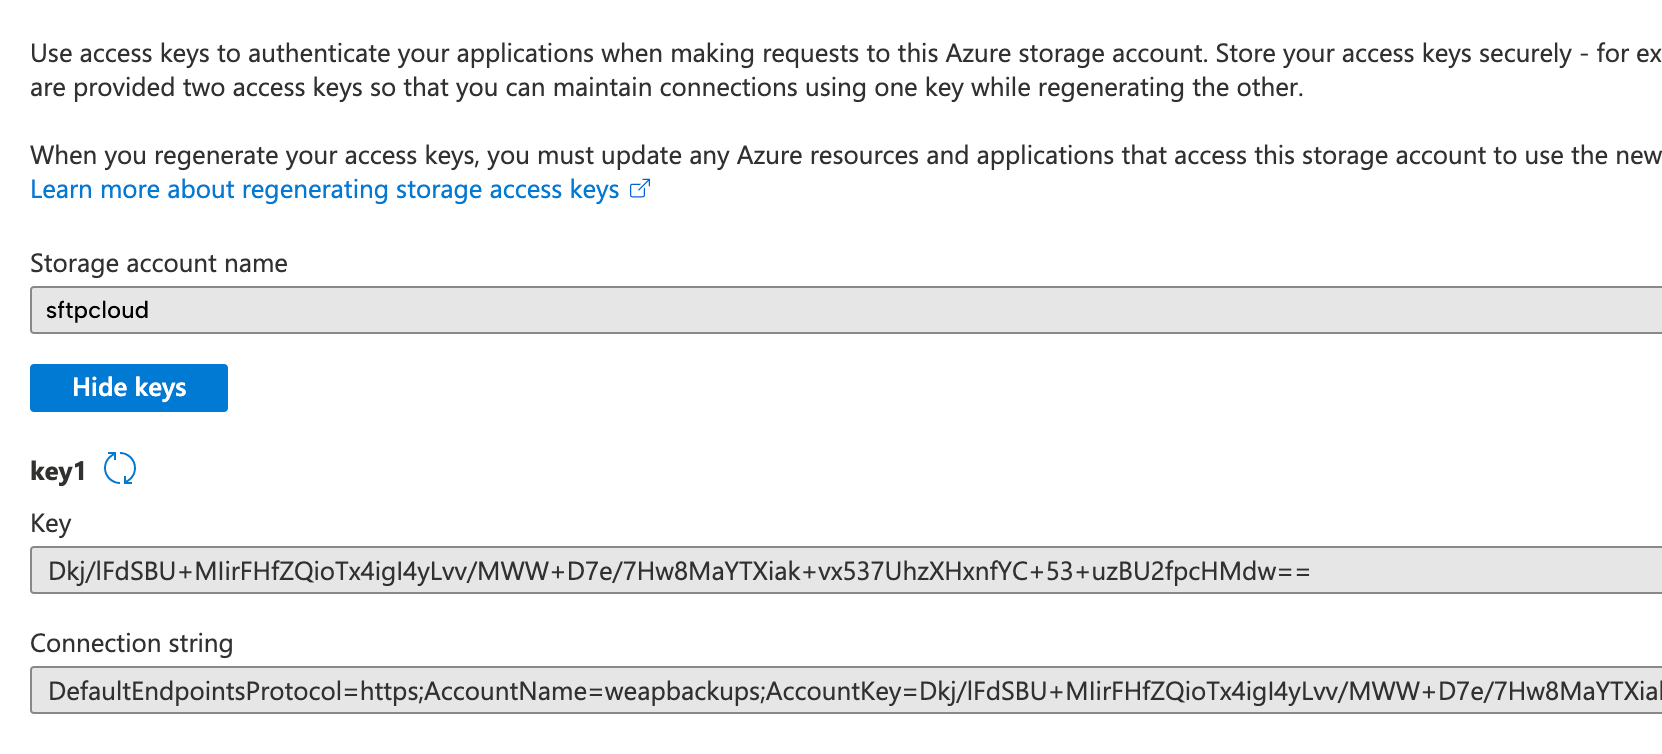
3. Generate the Access Key
On the resource page click Access keys on the left sidebar.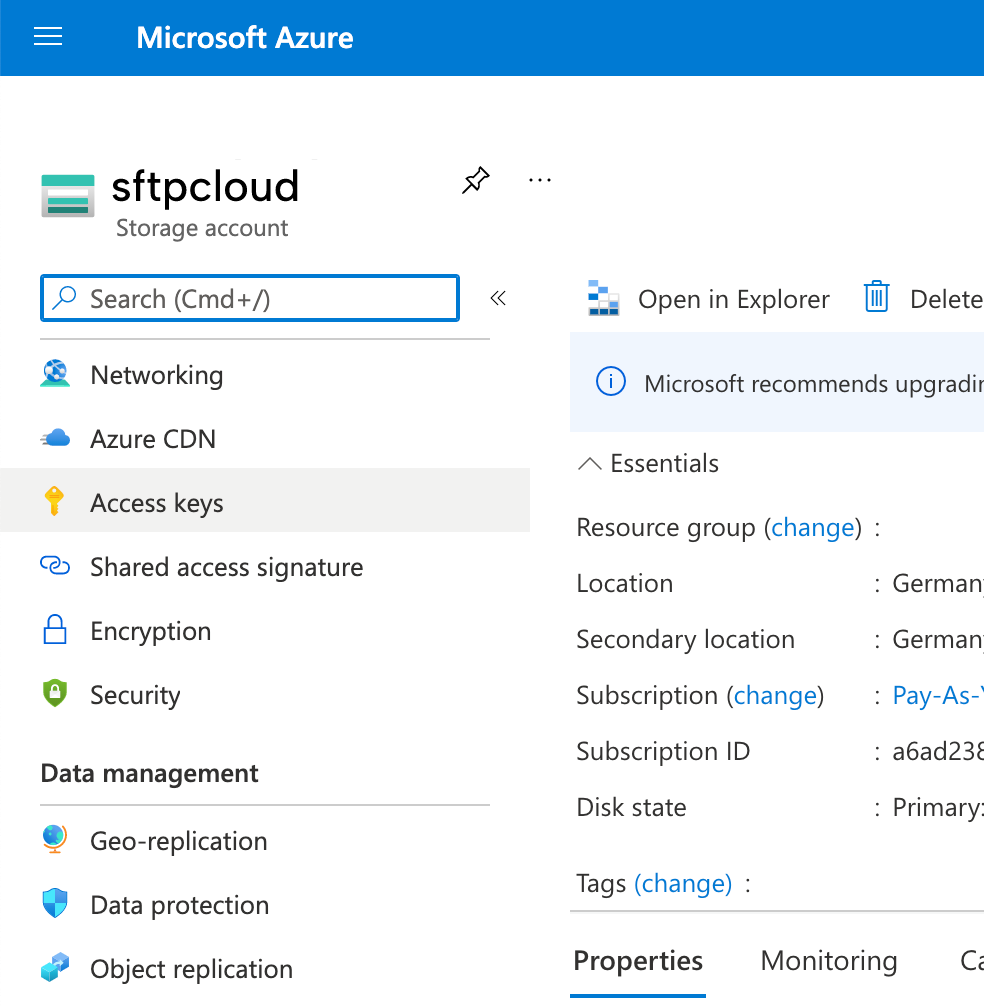 Now you can see the access keys for your new storage. Copy the
Storage account name
and the first
Key
.
Now you can see the access keys for your new storage. Copy the
Storage account name
and the first
Key
.
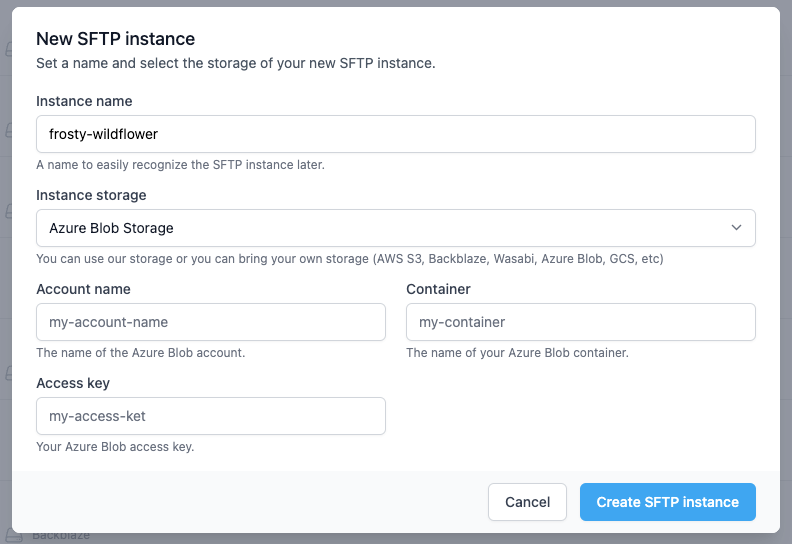
4. Create an SFTP instance using the new storage
Follow the steps from here in order to create a new instance and select Azure Blob Storage as the storage type. When Azure Blob Storage is selected, more inputs will appear. Fill in the inputs with the credentials created in the previous steps.