Learn
Do you learn easier from videos? We also have a video tutorial showing how to access Azure Blob via SFTP and FTP by using SFTPCloud → Watch video
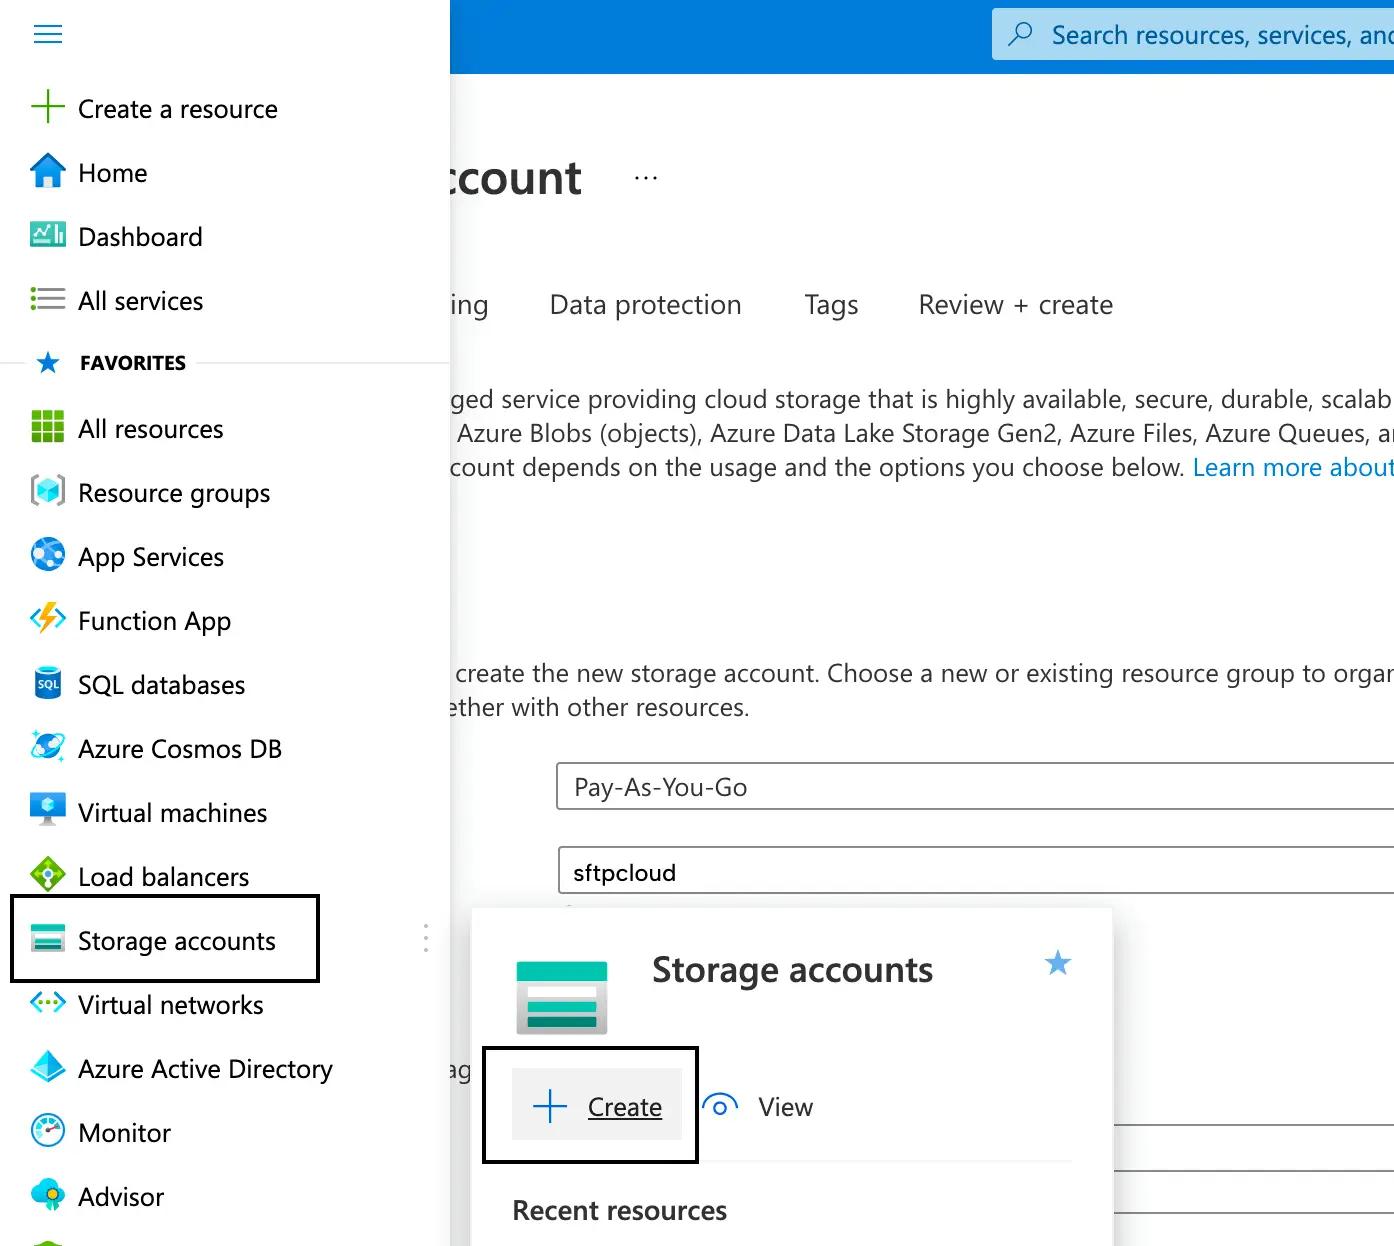 Now it's time to configure the new storage:
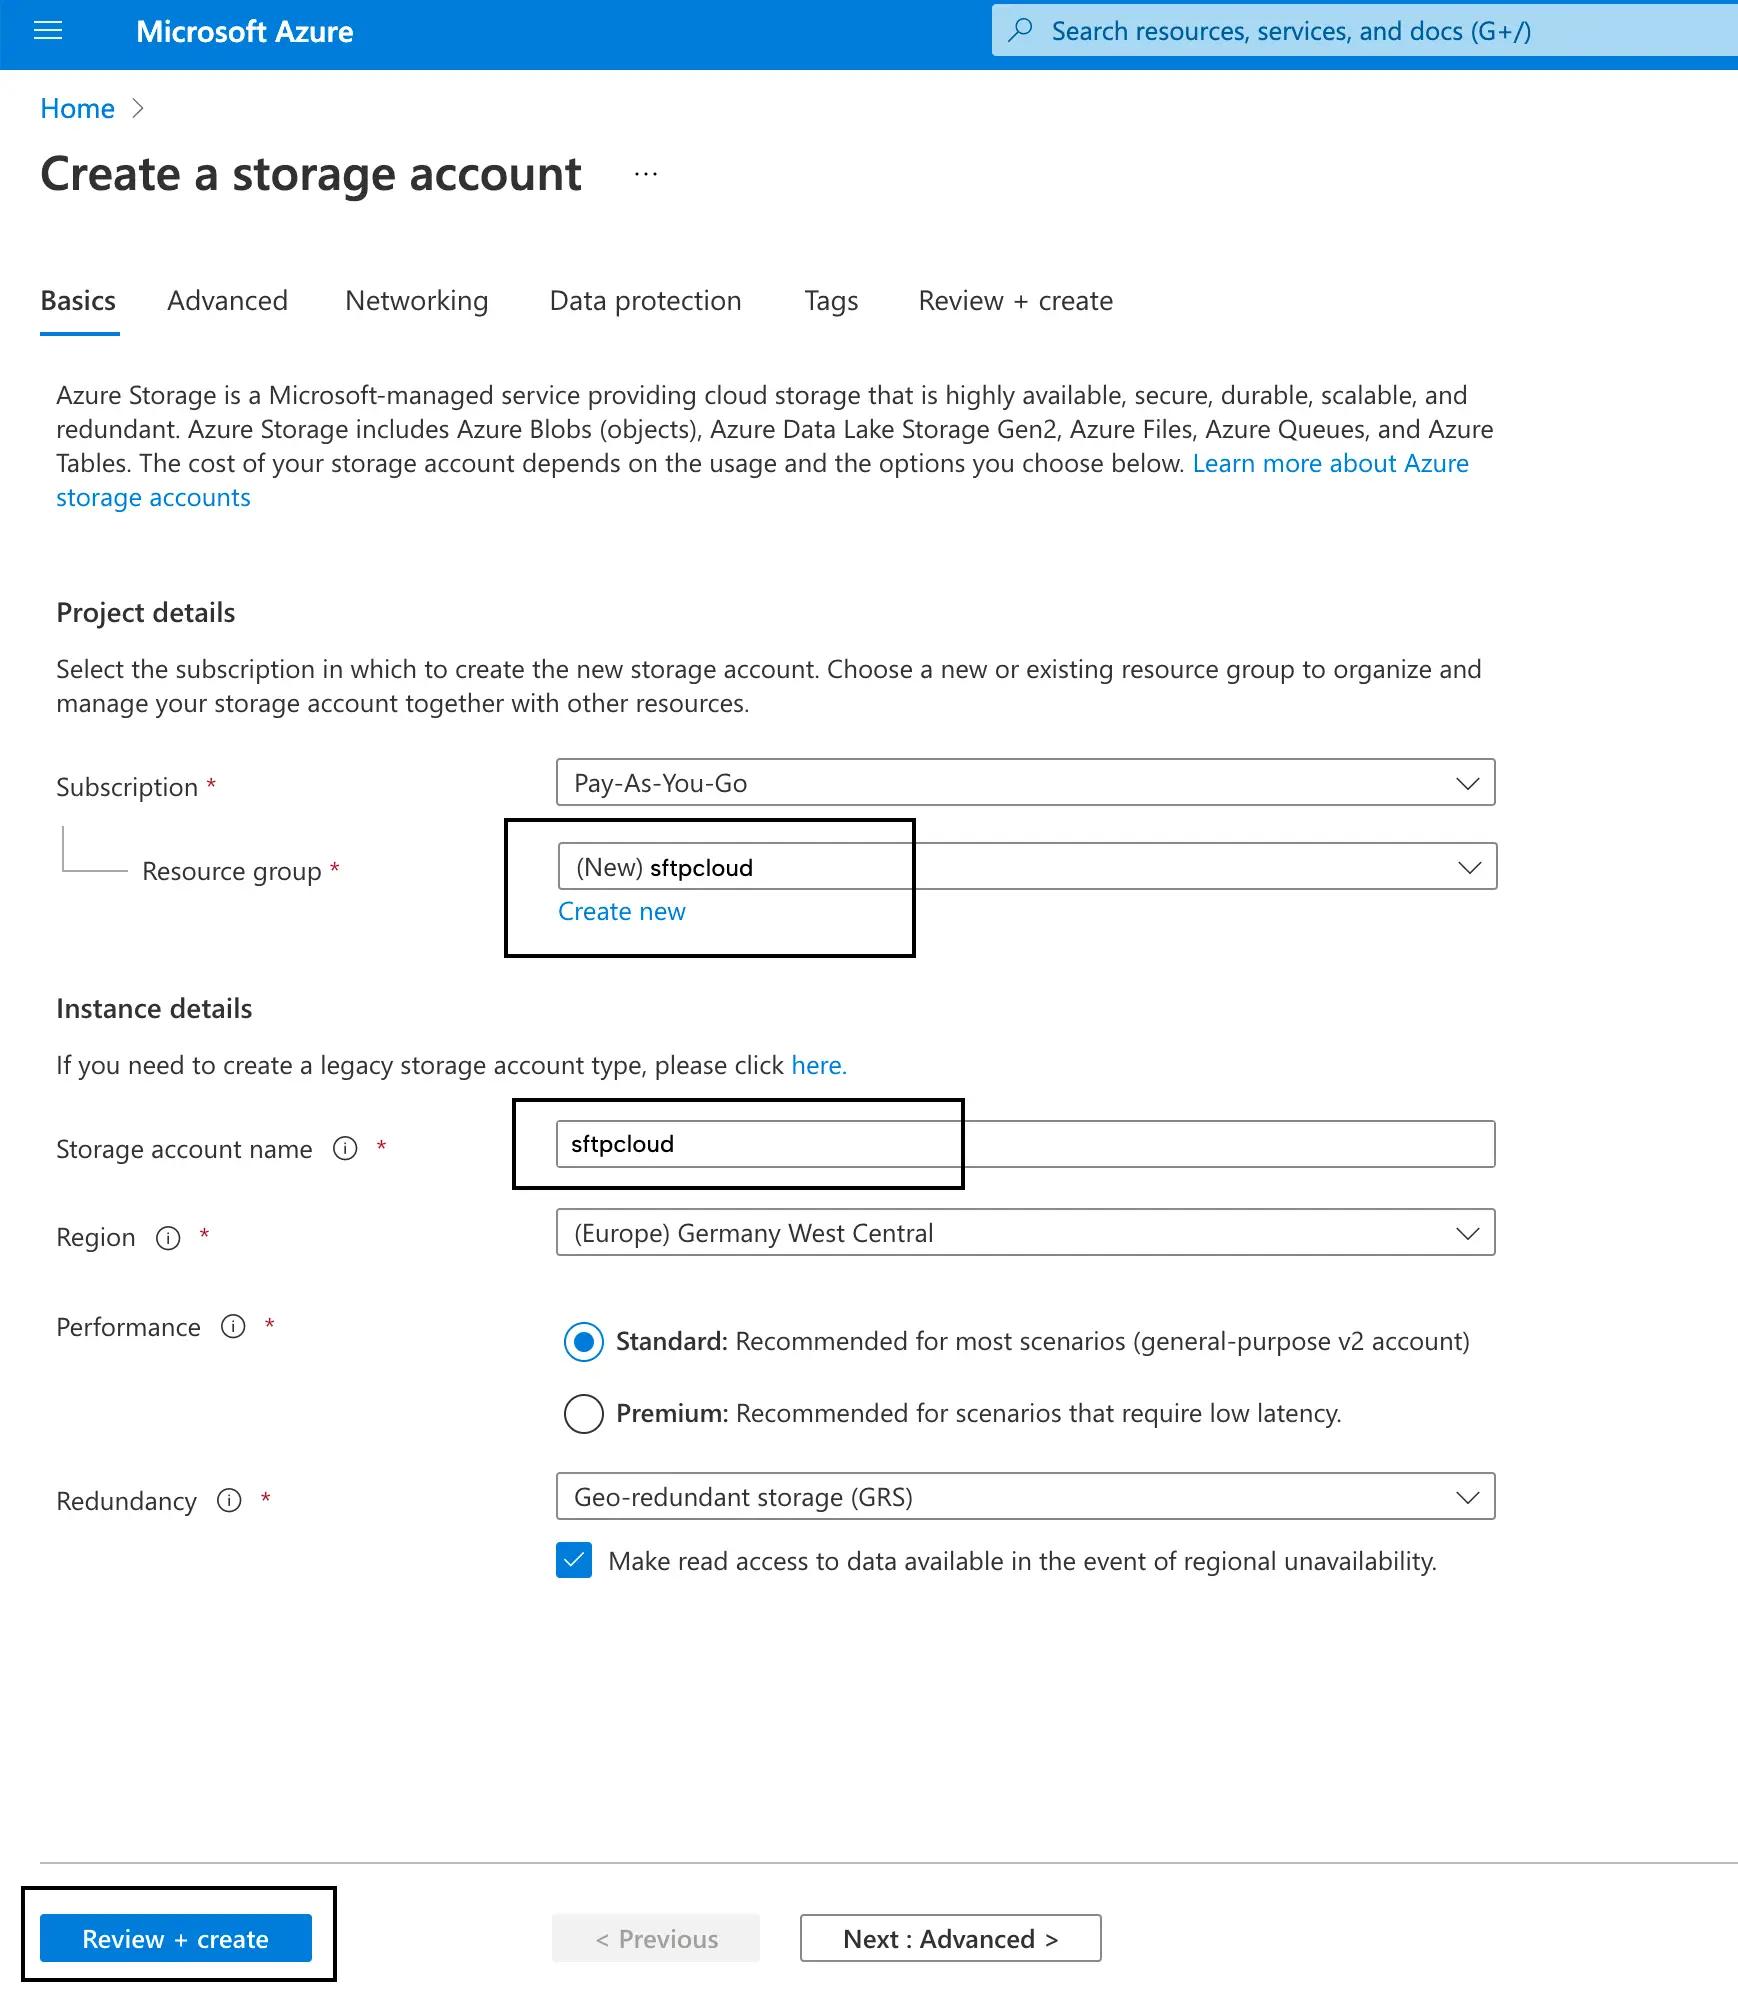
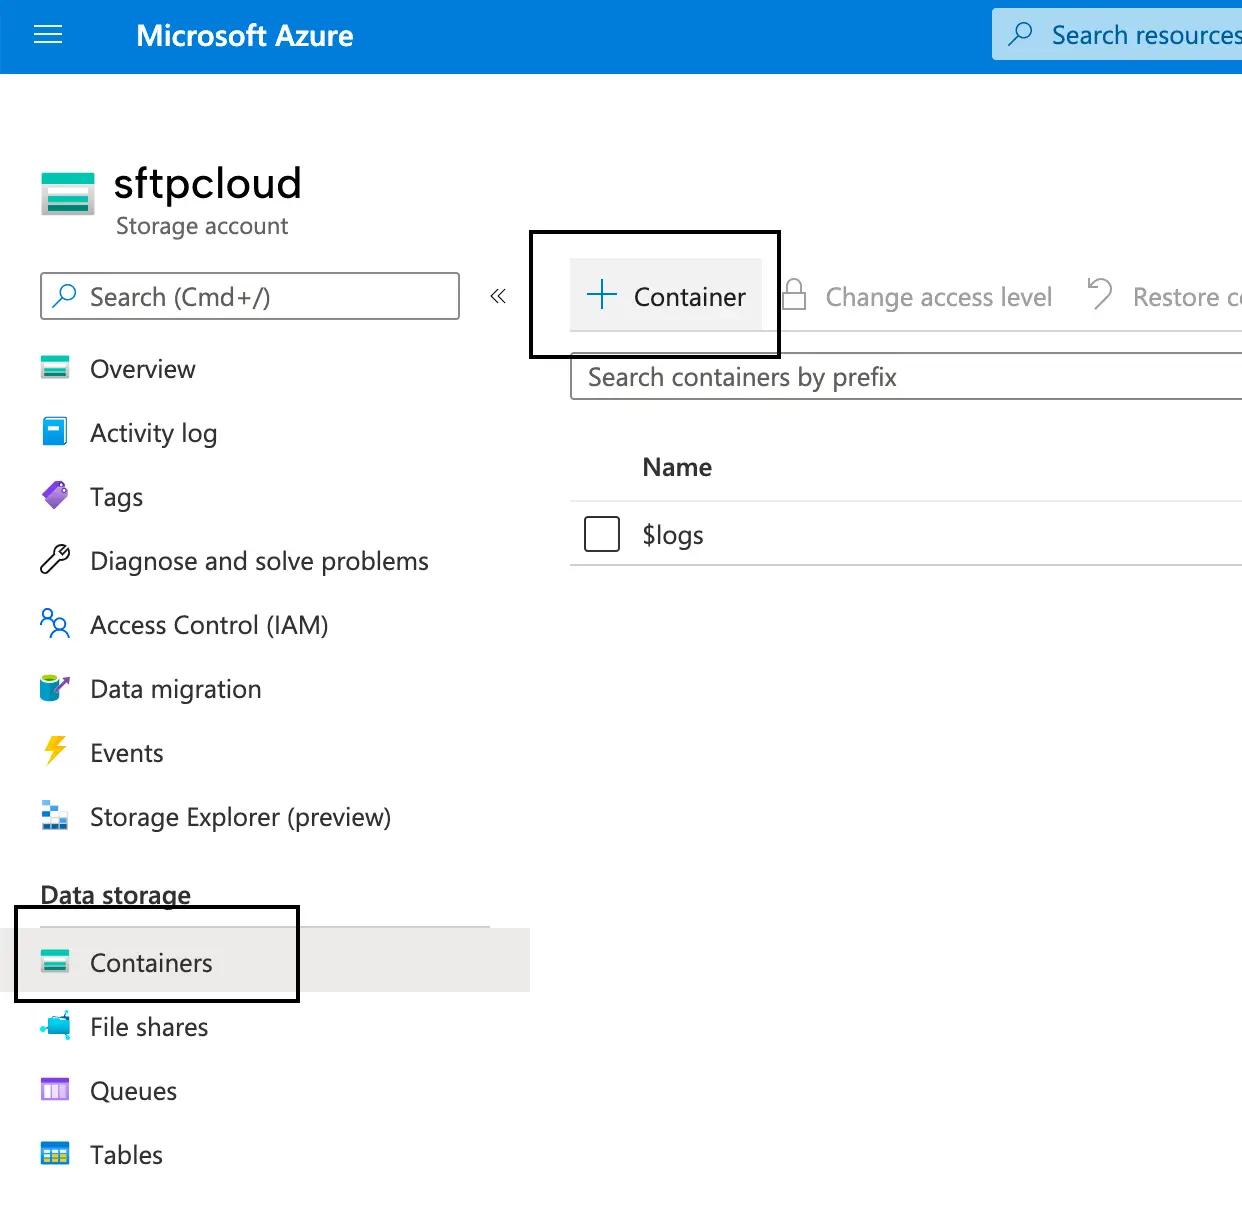
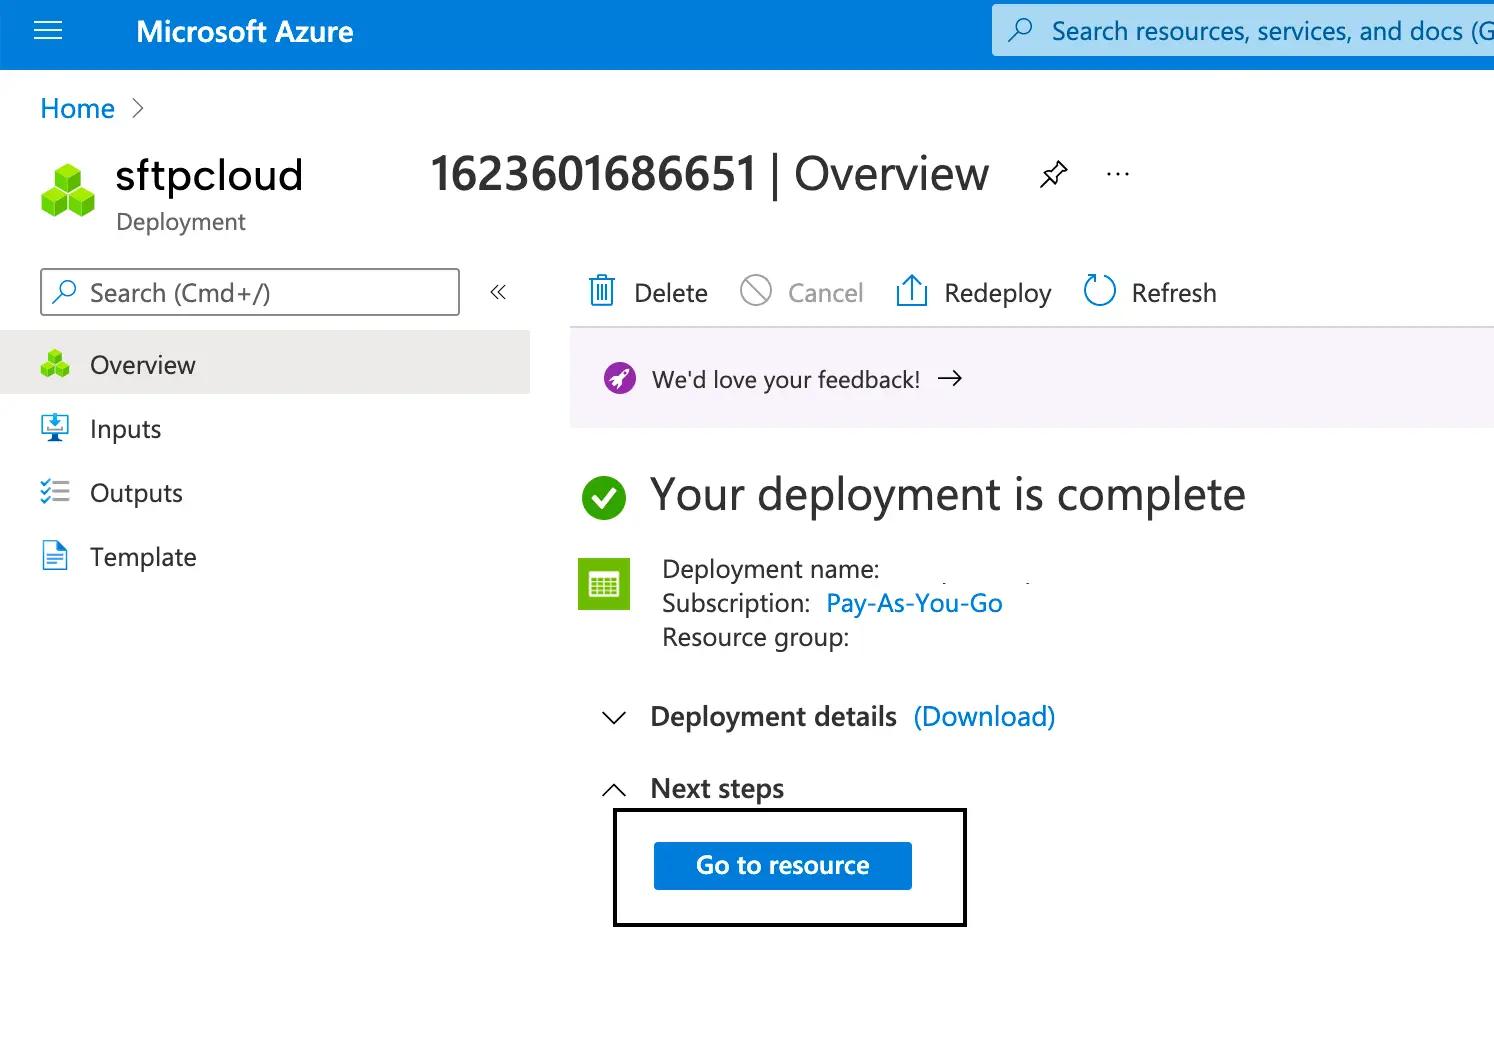 On the resource page, click
Containers
on the left sidebar and then click the
+ Container
button to create a new container.
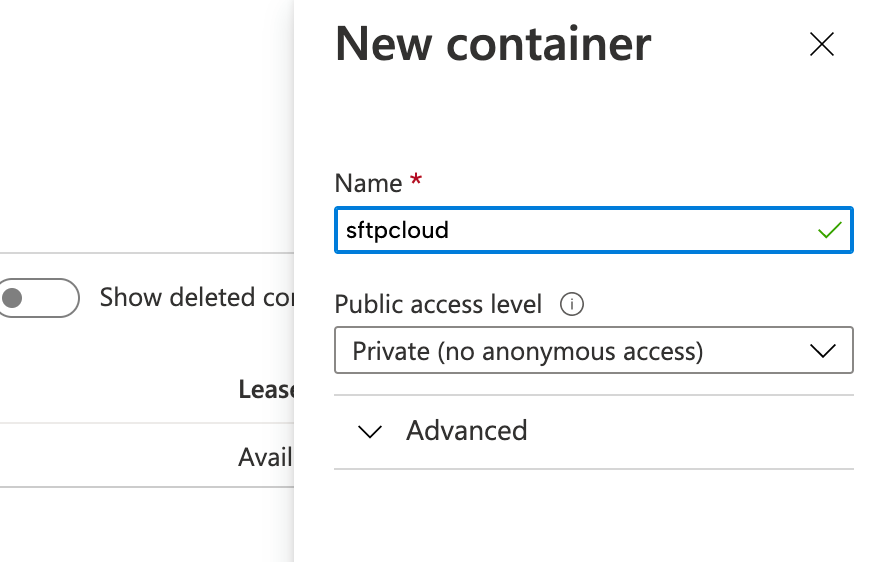
 A new sidebar on the right will appear. Give a name to your container and click the
Create
button. Remember this name because you will need it later.
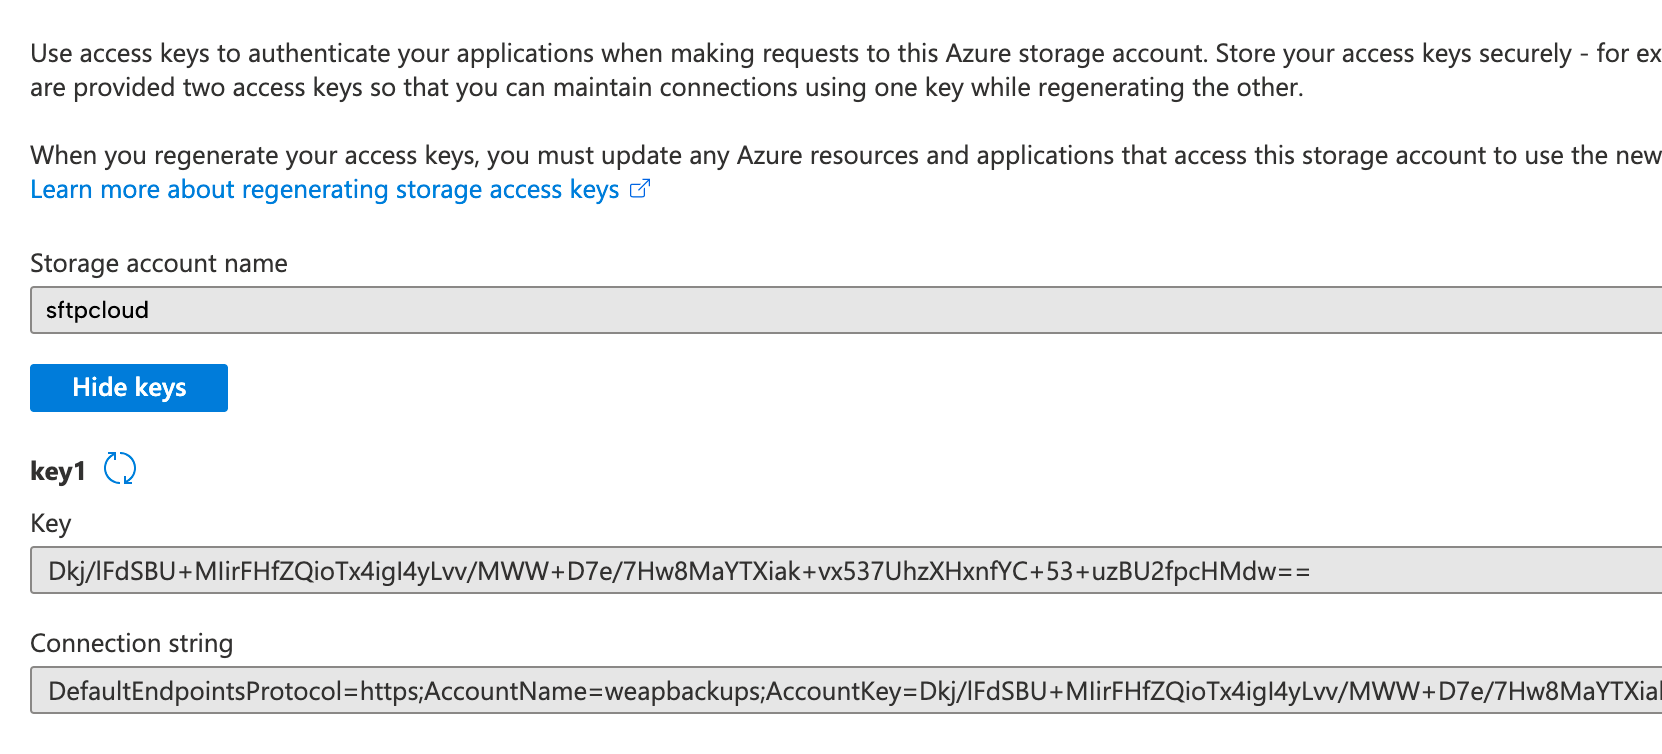
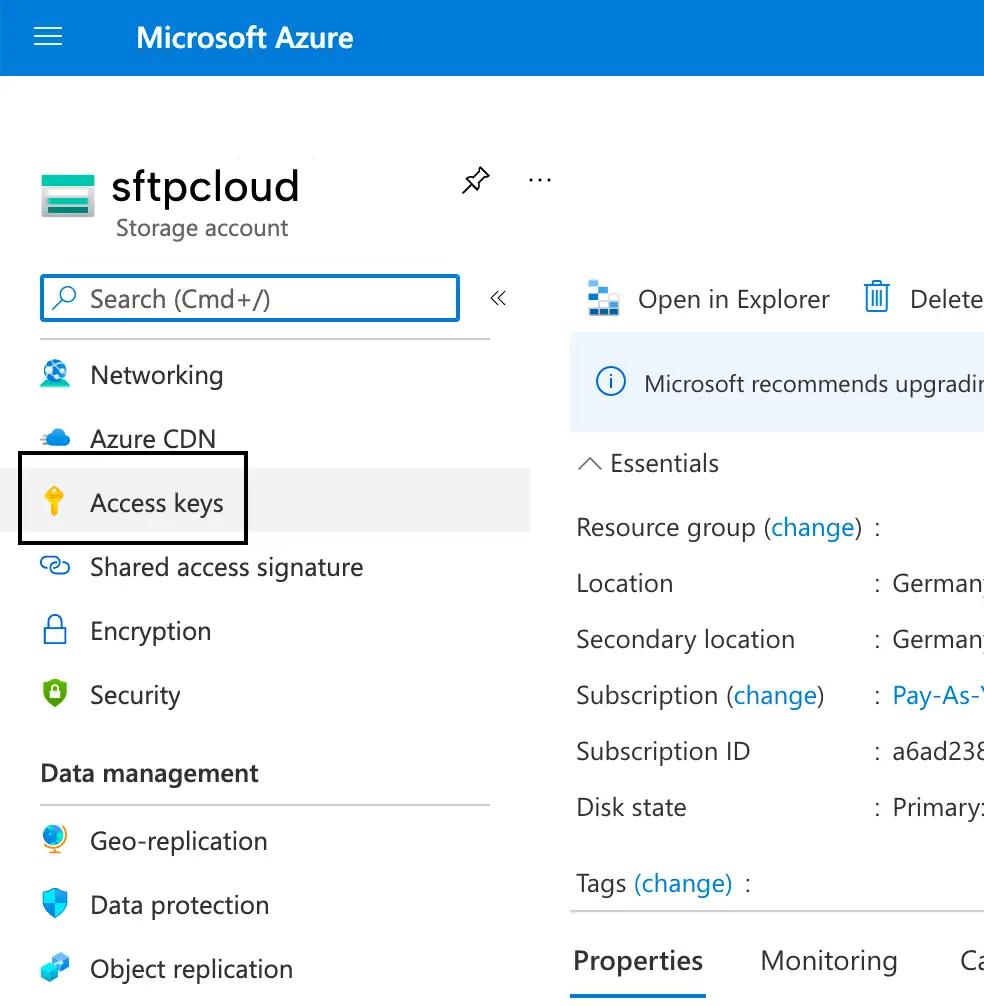 Now you can see the access keys for your new storage. Keep this page open because you will need to copy the Storage Account Name and the first key.
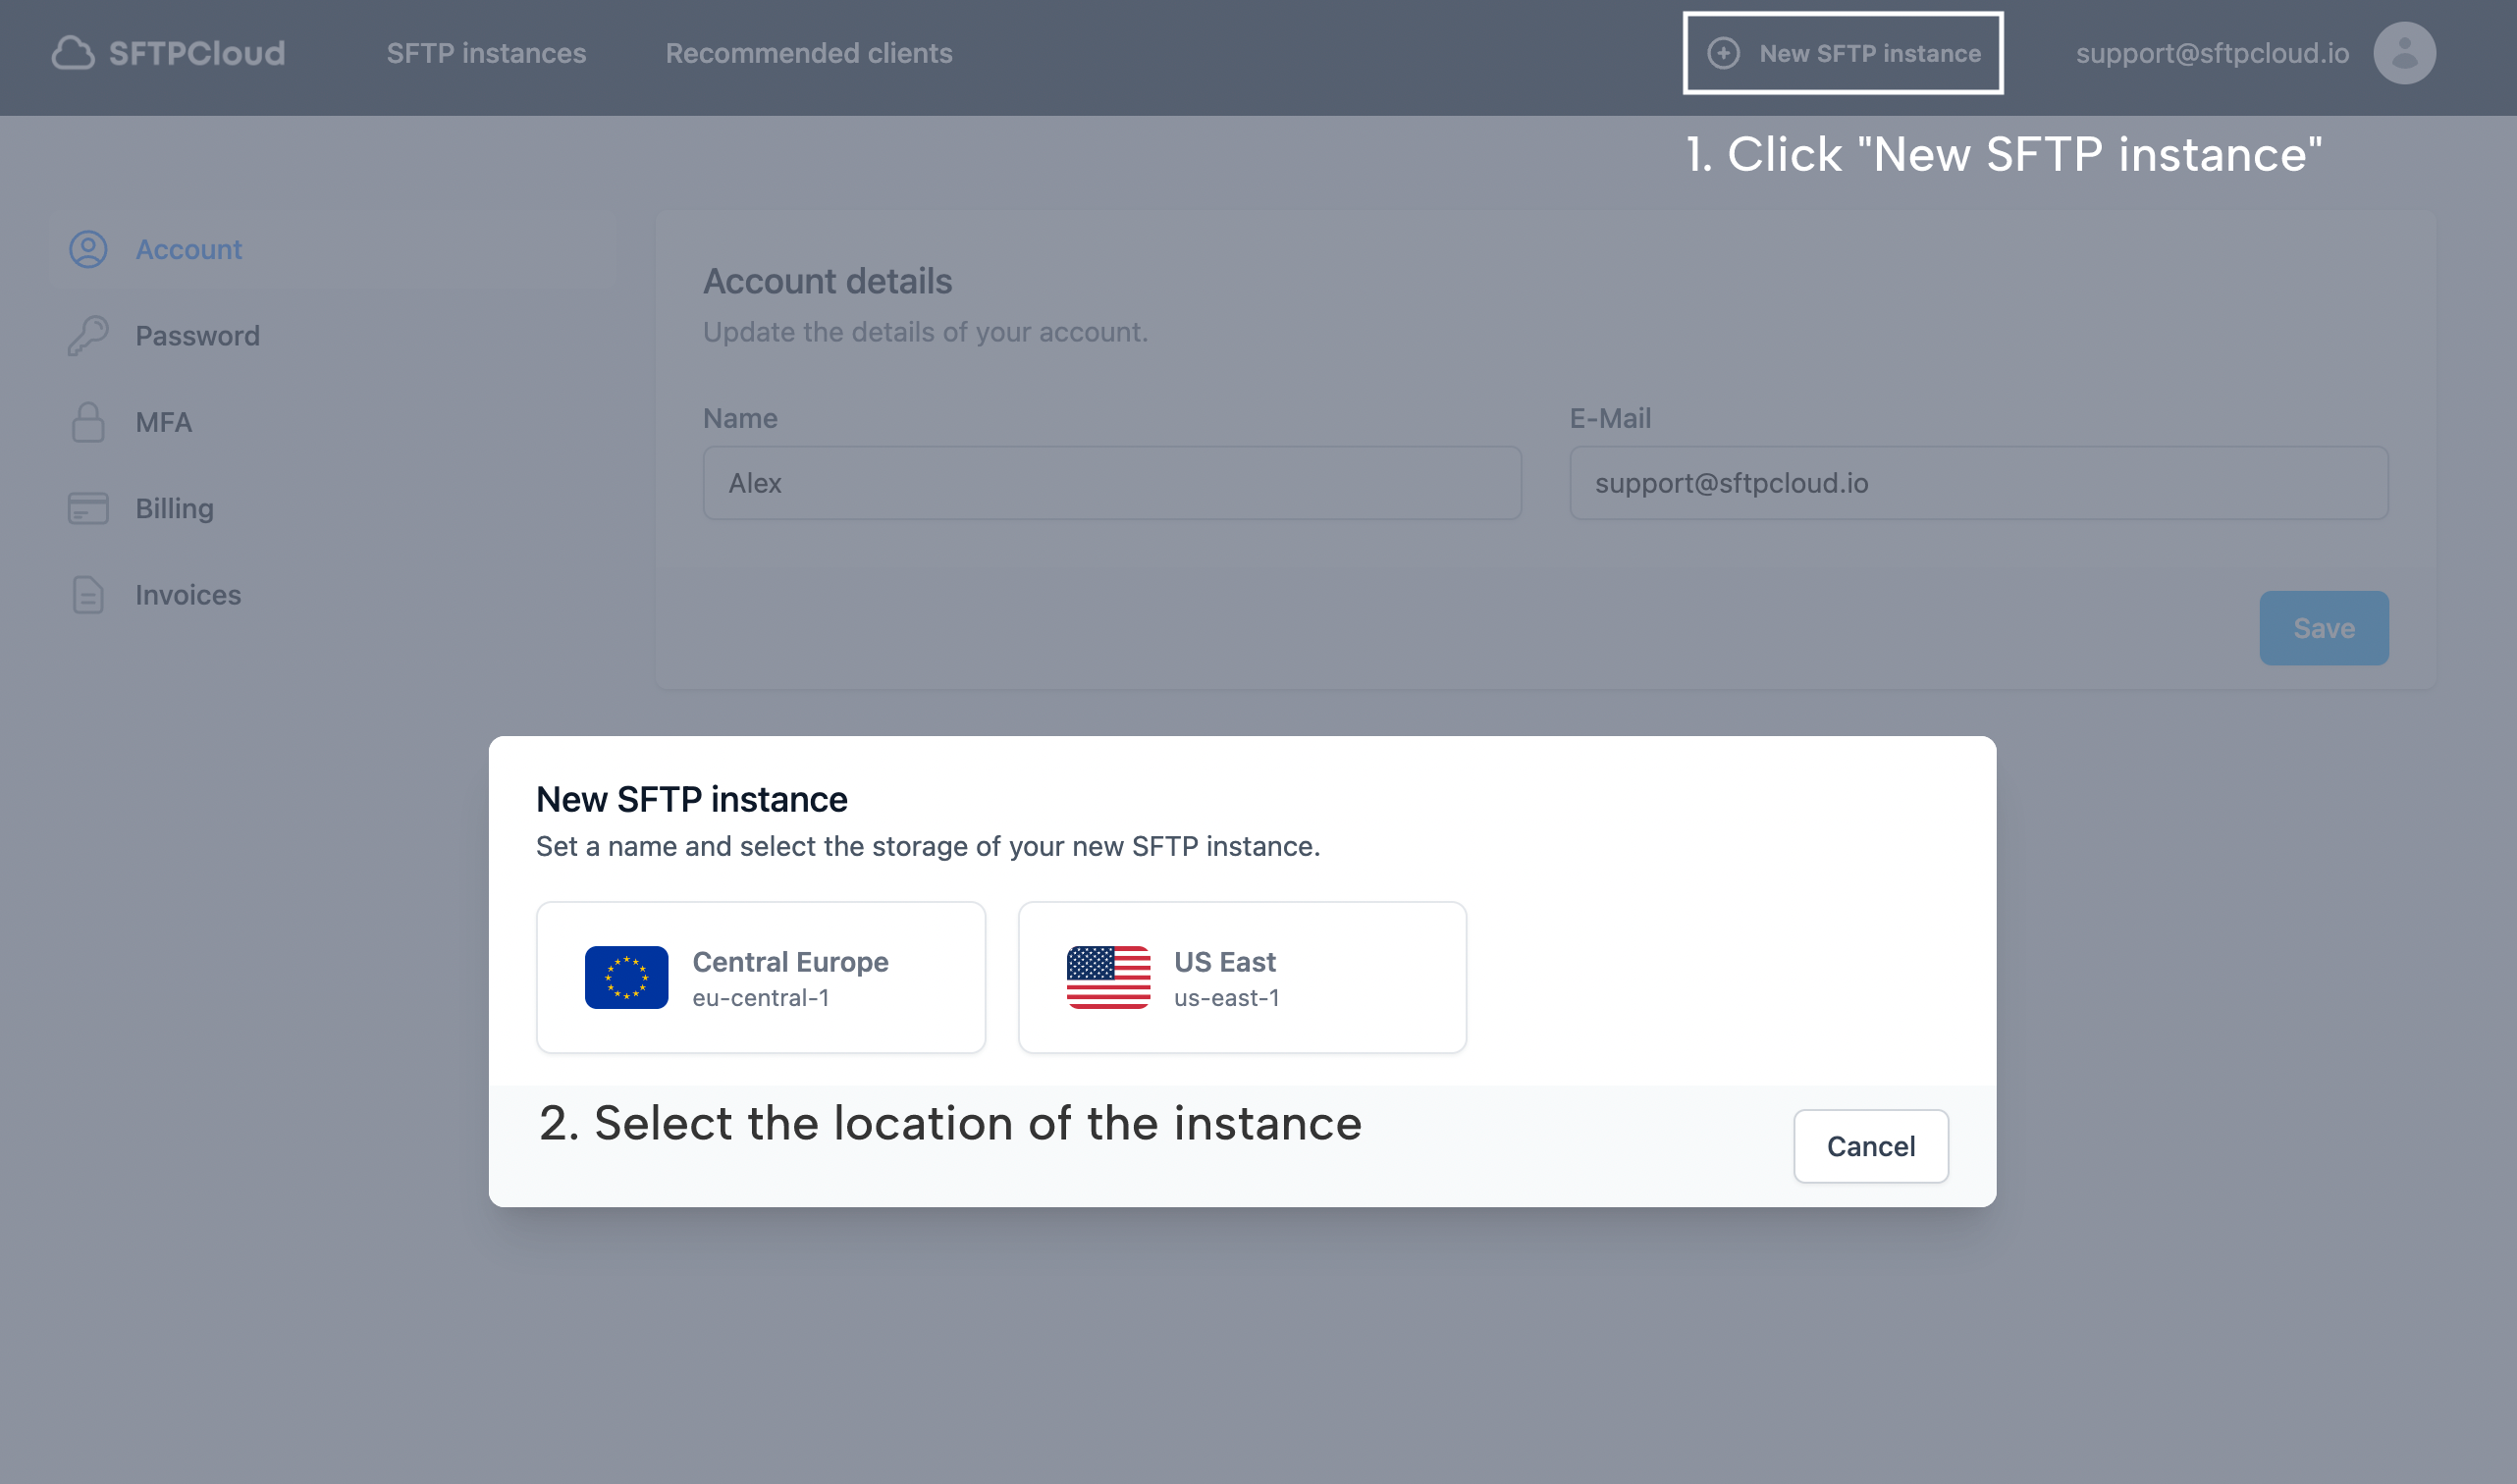 Now it's time to name the new instance and provide the storage credentials needed to establish the connection with Azure Blob. Name the instance and select Azure Blob Storage as the instance storage.
Type the name of your account storage into the
Account name
field. In this example we used
sftpcloud
as account storage name (step 1).
In the
Container
input type the name of the container you see in the page left open from step 3. We used
sftpcloud
as container name. Into the
Access key
field pase the first key copied from the page left open at step 3.
Click the
Create SFTP instance
button and your FTP and SFTP server will start initializing.
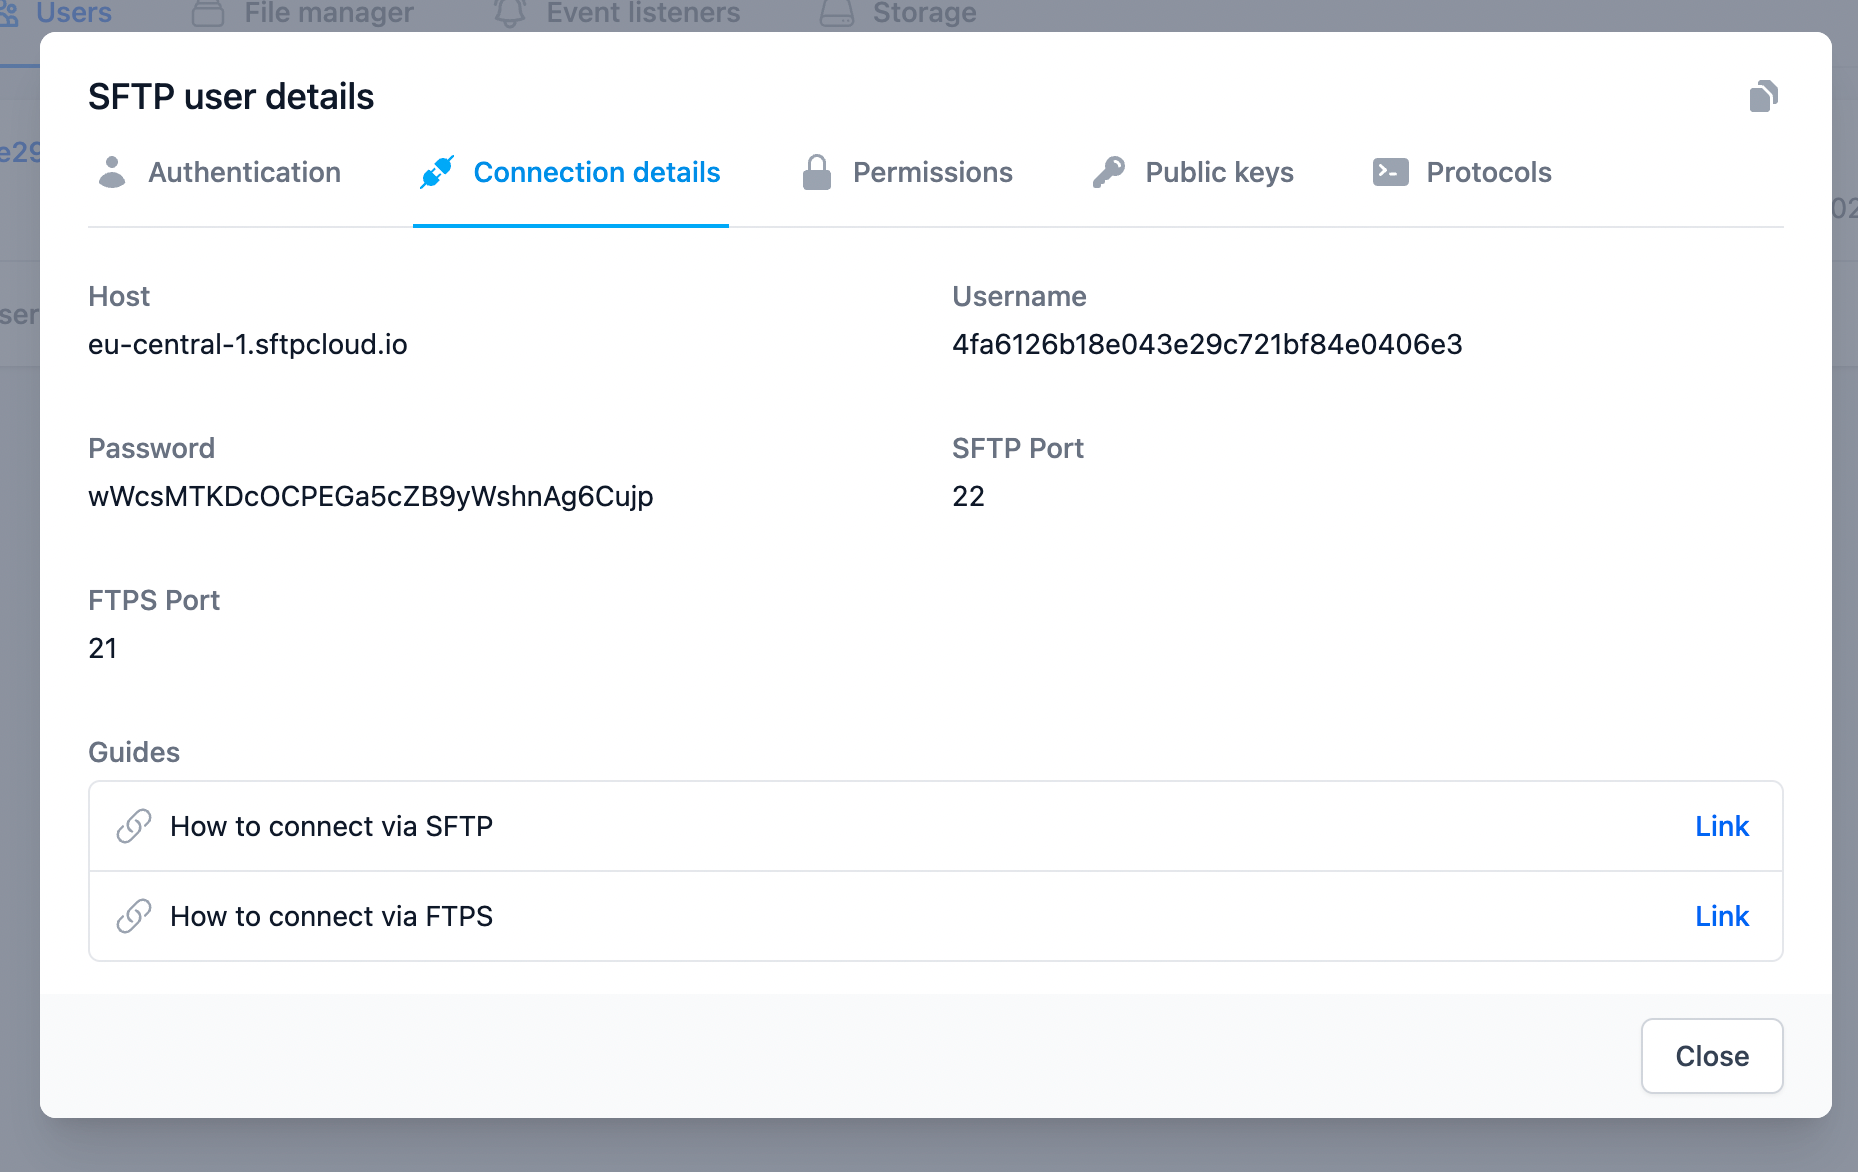
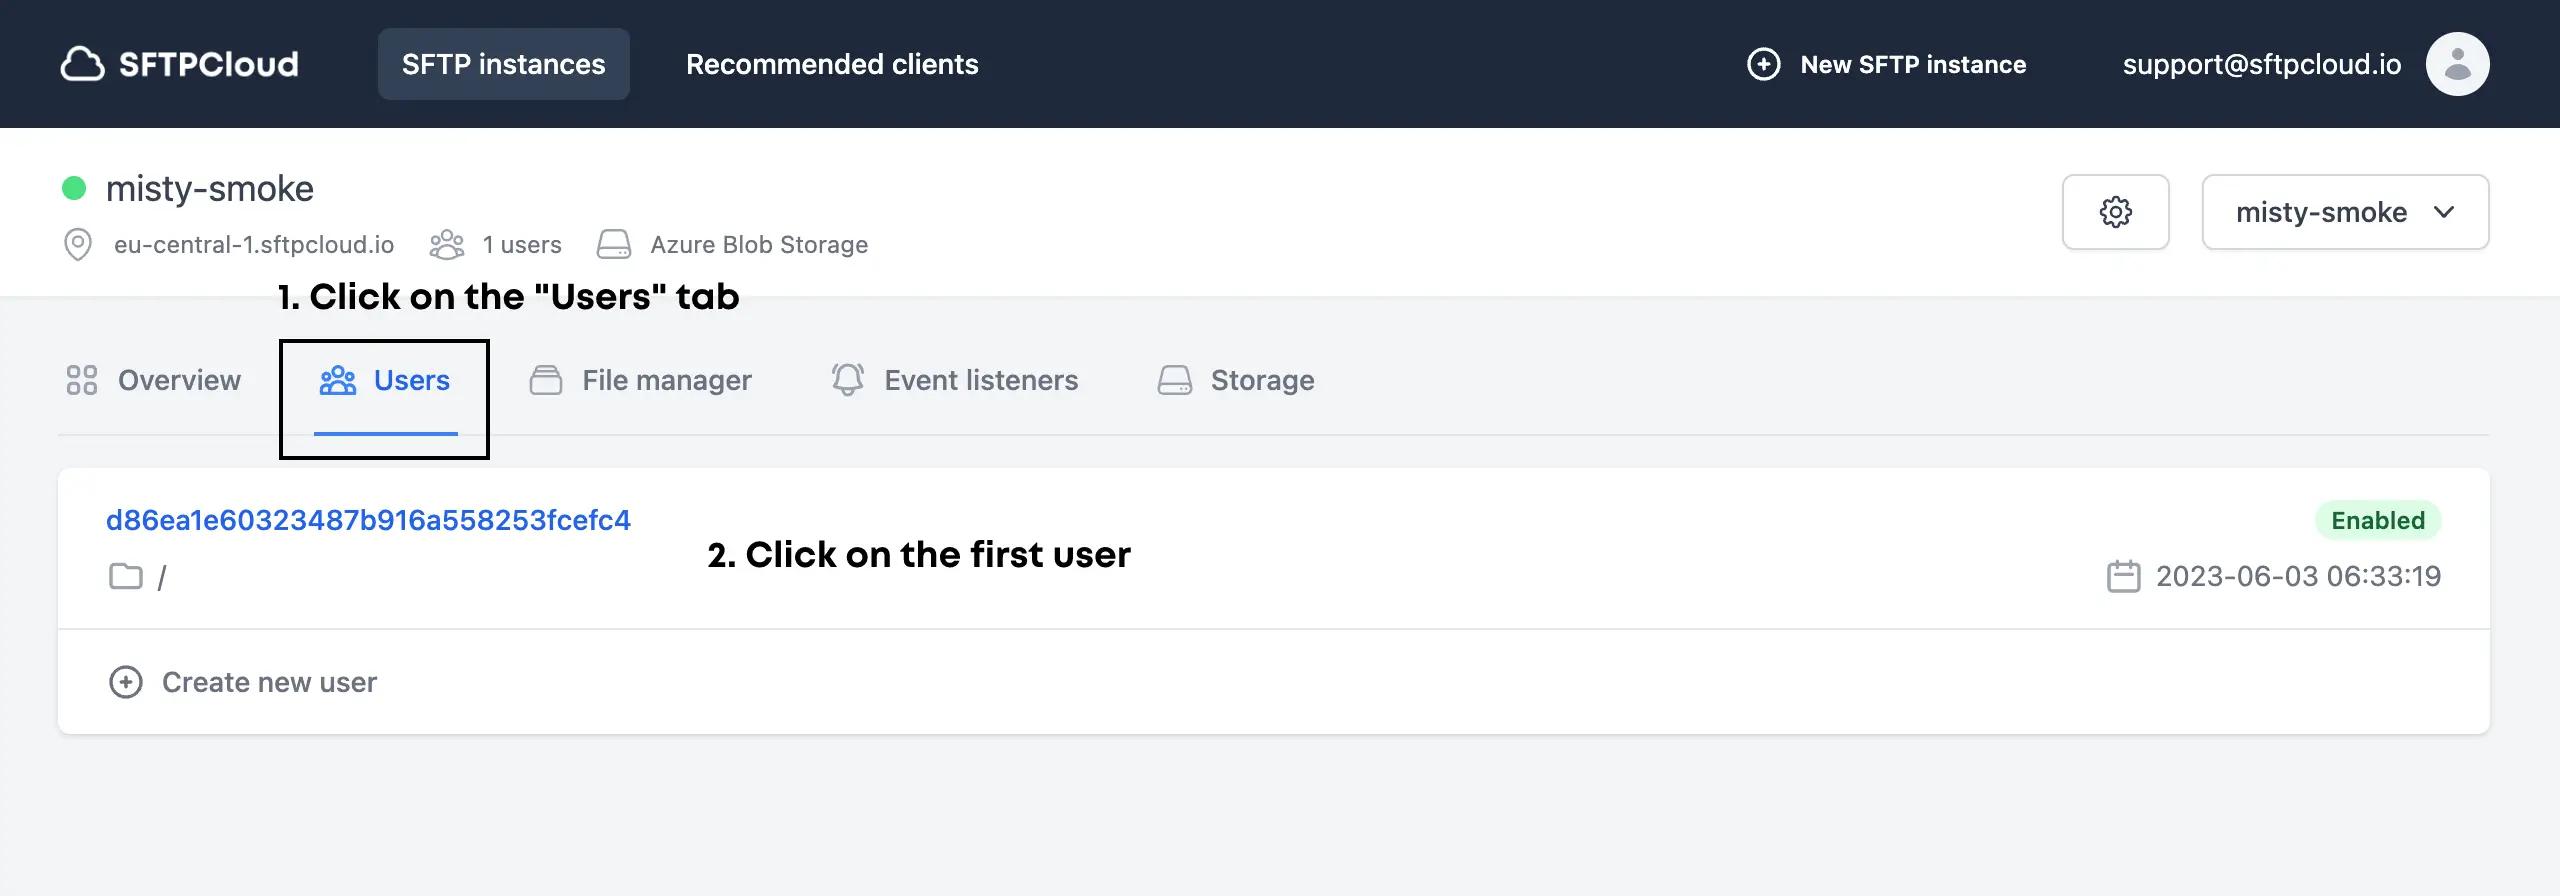 A modal with the user details will appear. Click the Connection details tab and there you have all the required details in order to connect to the SFTP/FTP server powered by your Azure Blob Storage.
